Behind the Brush: Creating “Duplicity” – A Timelapse Journey
“Duplicity” didn’t just appear; it emerged slowly—layer by layer, wash by wash, mark by mark. In this post, I’m sharing a behind-the-scenes look at how this complex painting came to life, from concept to final touches. Below, you’ll find time-lapse videos capturing the process and insights into the materials and techniques I used.
Materials Used
-
Surface: Heavyweight archival paper
-
Mediums: Acrylic and liquid graphite
-
Tools: Brushes, and layering techniques
Step 1: The Concept Sketch and abstract background layer
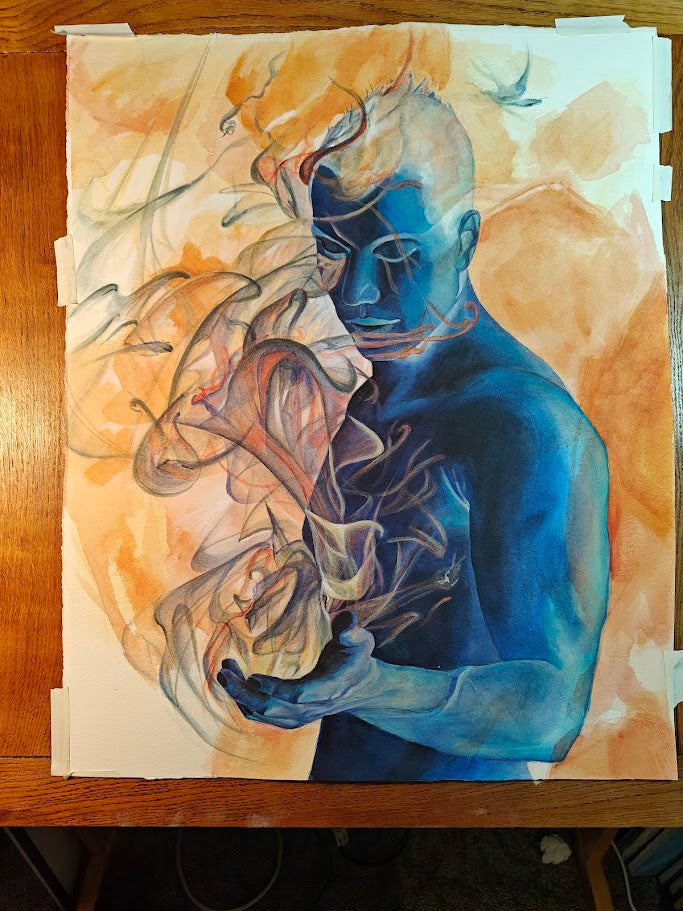
Everything started with a loose sketch, guided by a vision of a figure straddling two realms—one grounded in reality, the other suspended in emotional abstraction. The first color went on as light hazy layers. This part was the mostly expressive and experimental.

Step 2: Building the Form
To create the translucent quality of the figure, I built up thin layers of blue acrylic, allowing parts of the paper to remain exposed. The challenge was balancing the ghostly presence without losing structure.
Step 3: Introducing Liquid Graphite
Liquid graphite added an atmospheric depth, interplaying with background and the figure. It tied together multiple planes creating the free flowing smoke that has both takes on form and dissipates at the same time—perfect for a piece about ambiguity.
Step 5: Final Touches
Highlights, line accents, and subtle tonal adjustments brought the piece together. Subltle color and a bit of sparkle were added into the smoke for incresed dimension and a mystical feel. At this point, I step back a lot, observing and fine-tuning until the emotion feels right.

Reflection
Creating “Duplicity” was both meditative and mentally intense. It pushed me to embrace unpredictability and trust in the process. I hope seeing its evolution gives you a new lens through which to view the finished piece.